Workflow
The workflow is pretty simple:
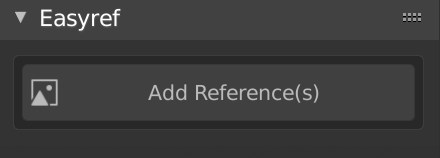
The addon is In the N Panel.
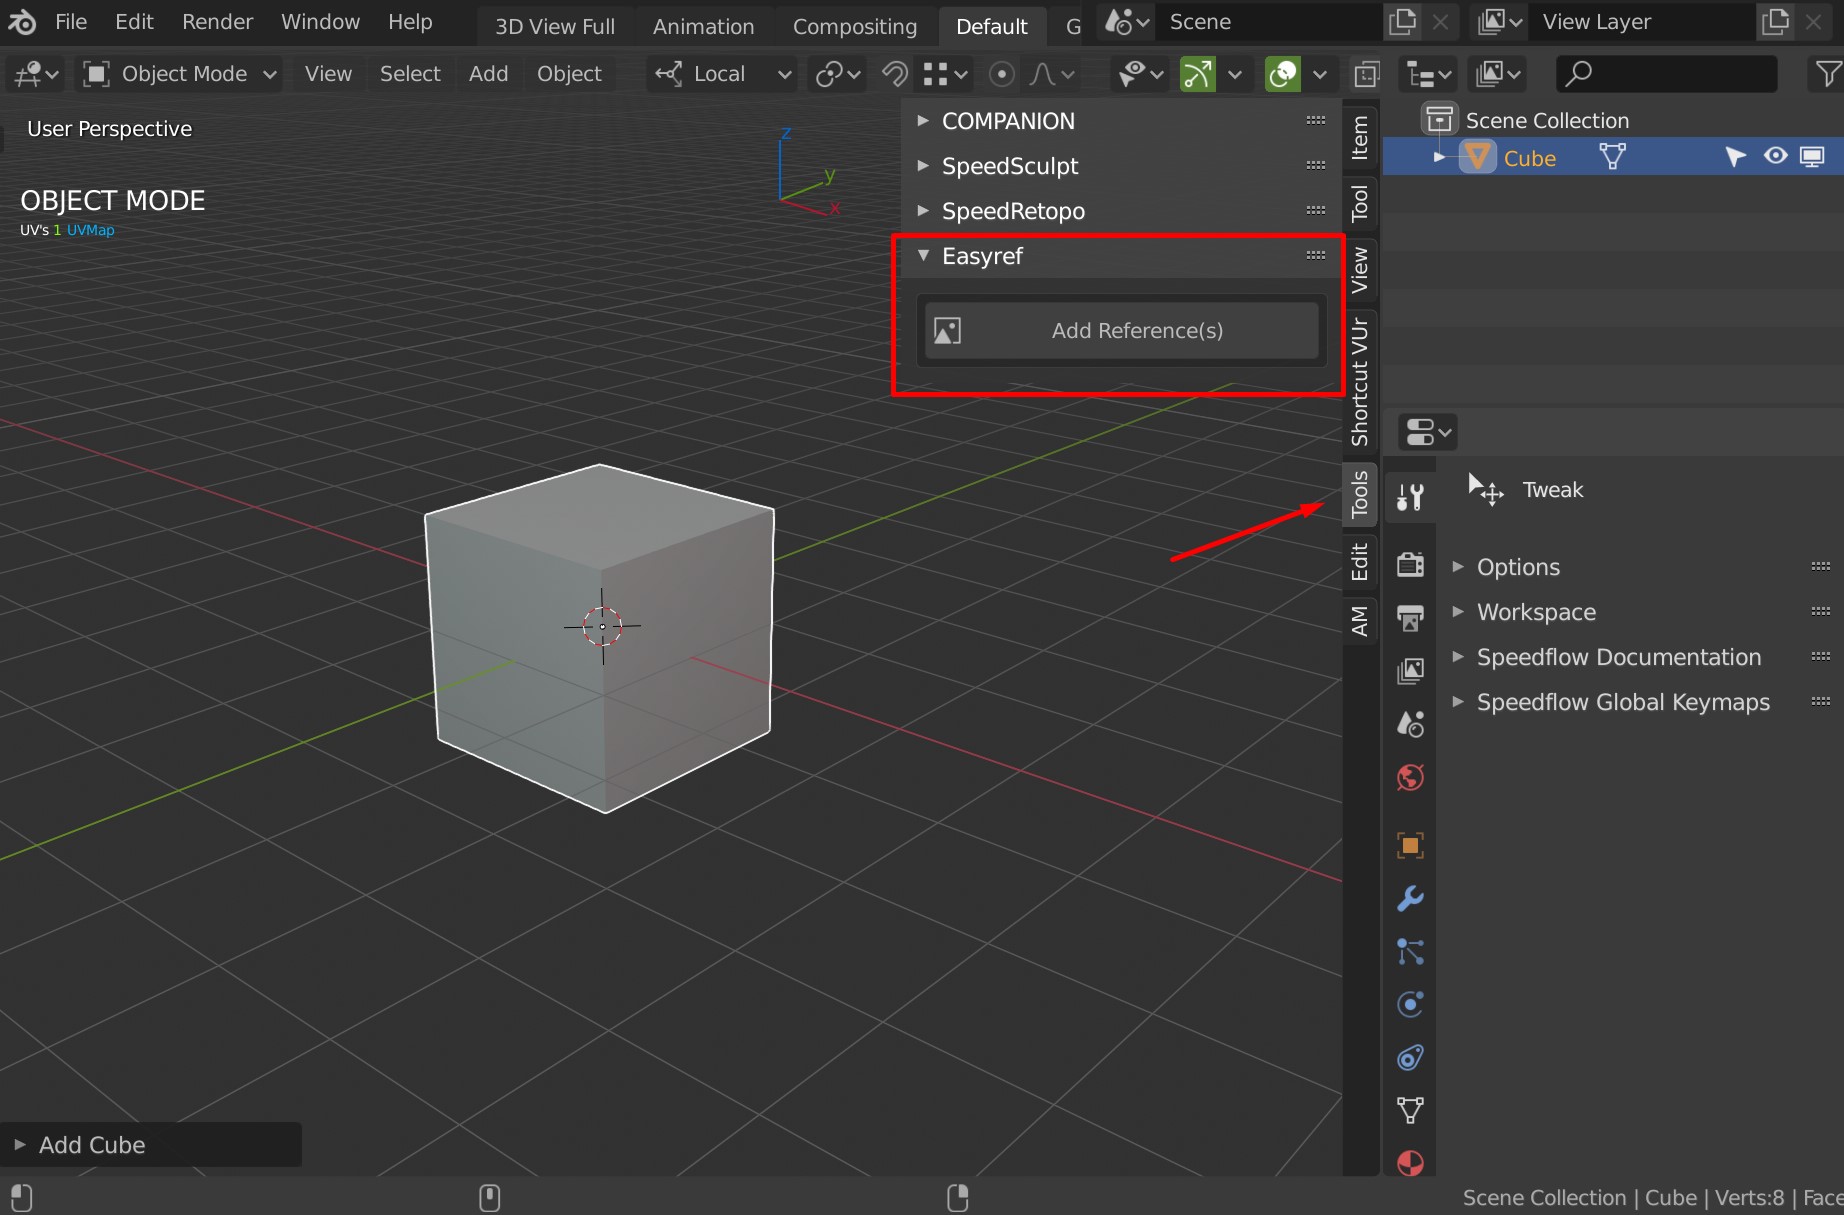
Click on 'Add Reference(s)'.
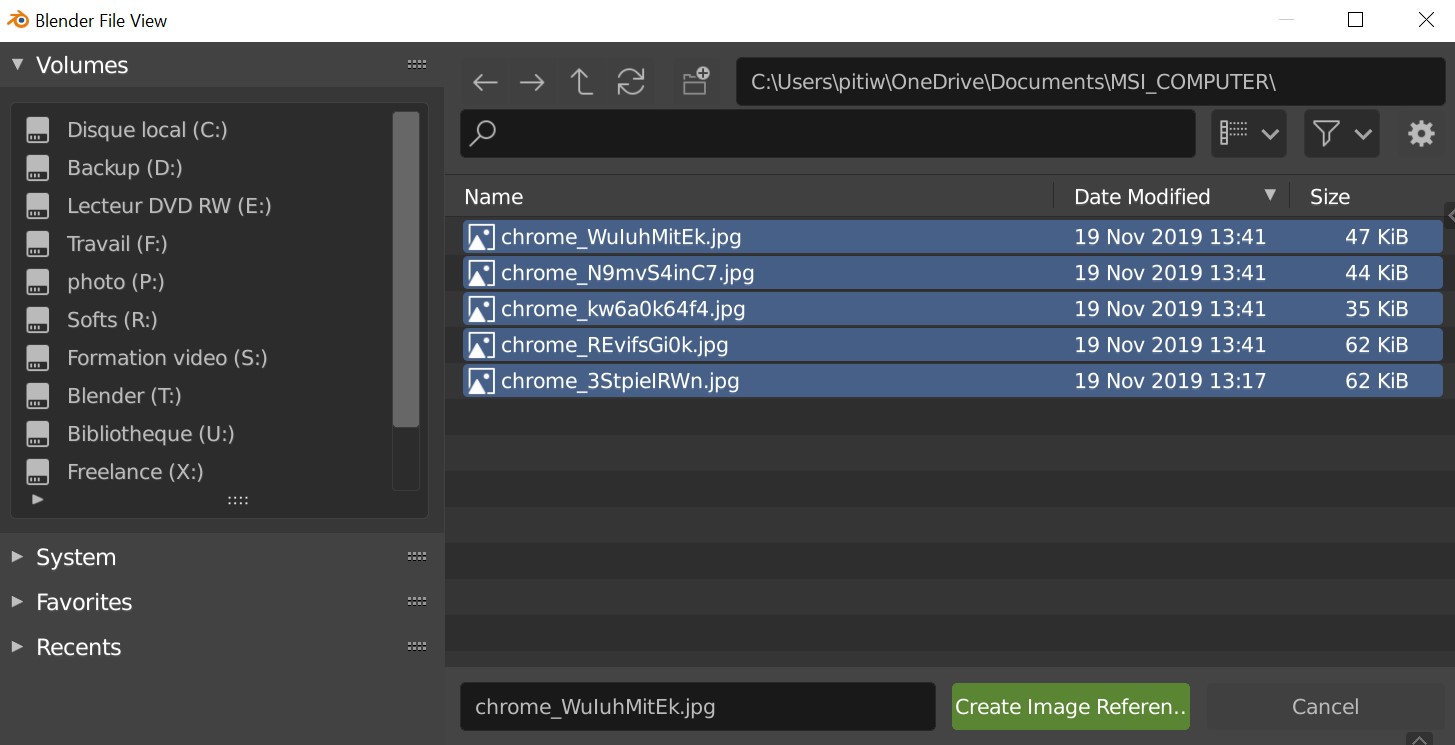
Select one or several images and click on 'Create Image Reference'.
You will have the images in the 3DView and you will be in a Modal.
(A modal is a mode you are in and you will be able to make several actions until you exit this Modal)
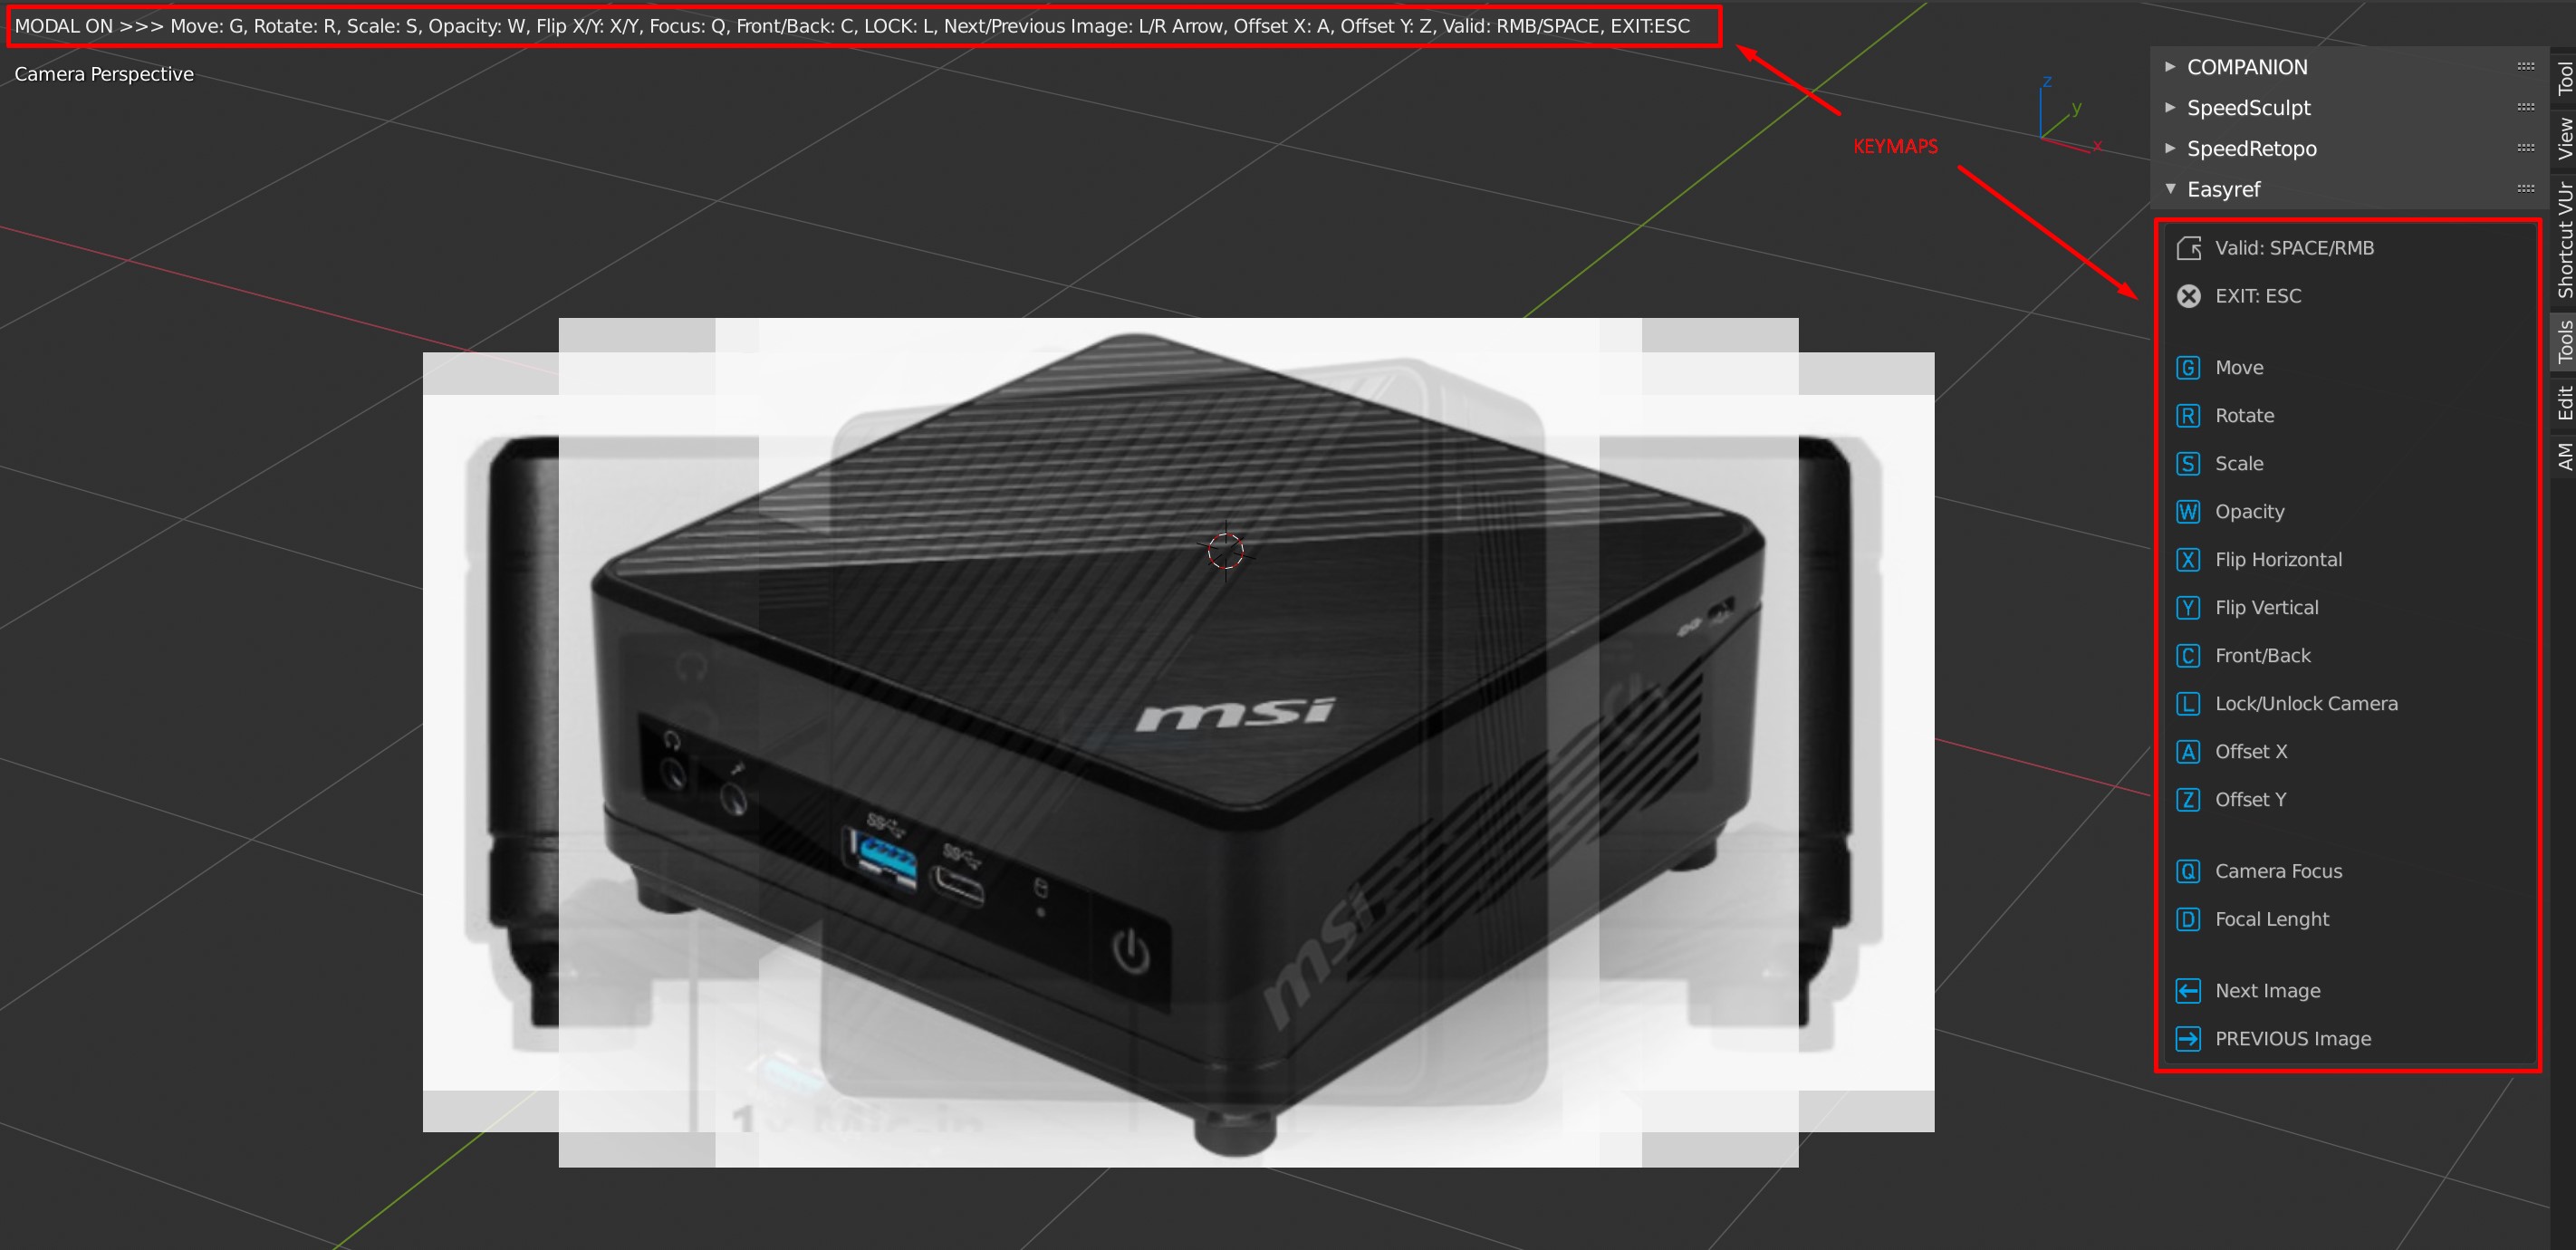
As you can see on the picture, you will have keymaps to edit your images.
Move, rotate, scale the images to your convenance and valid with 'SPACEBAR'.
Example
Result
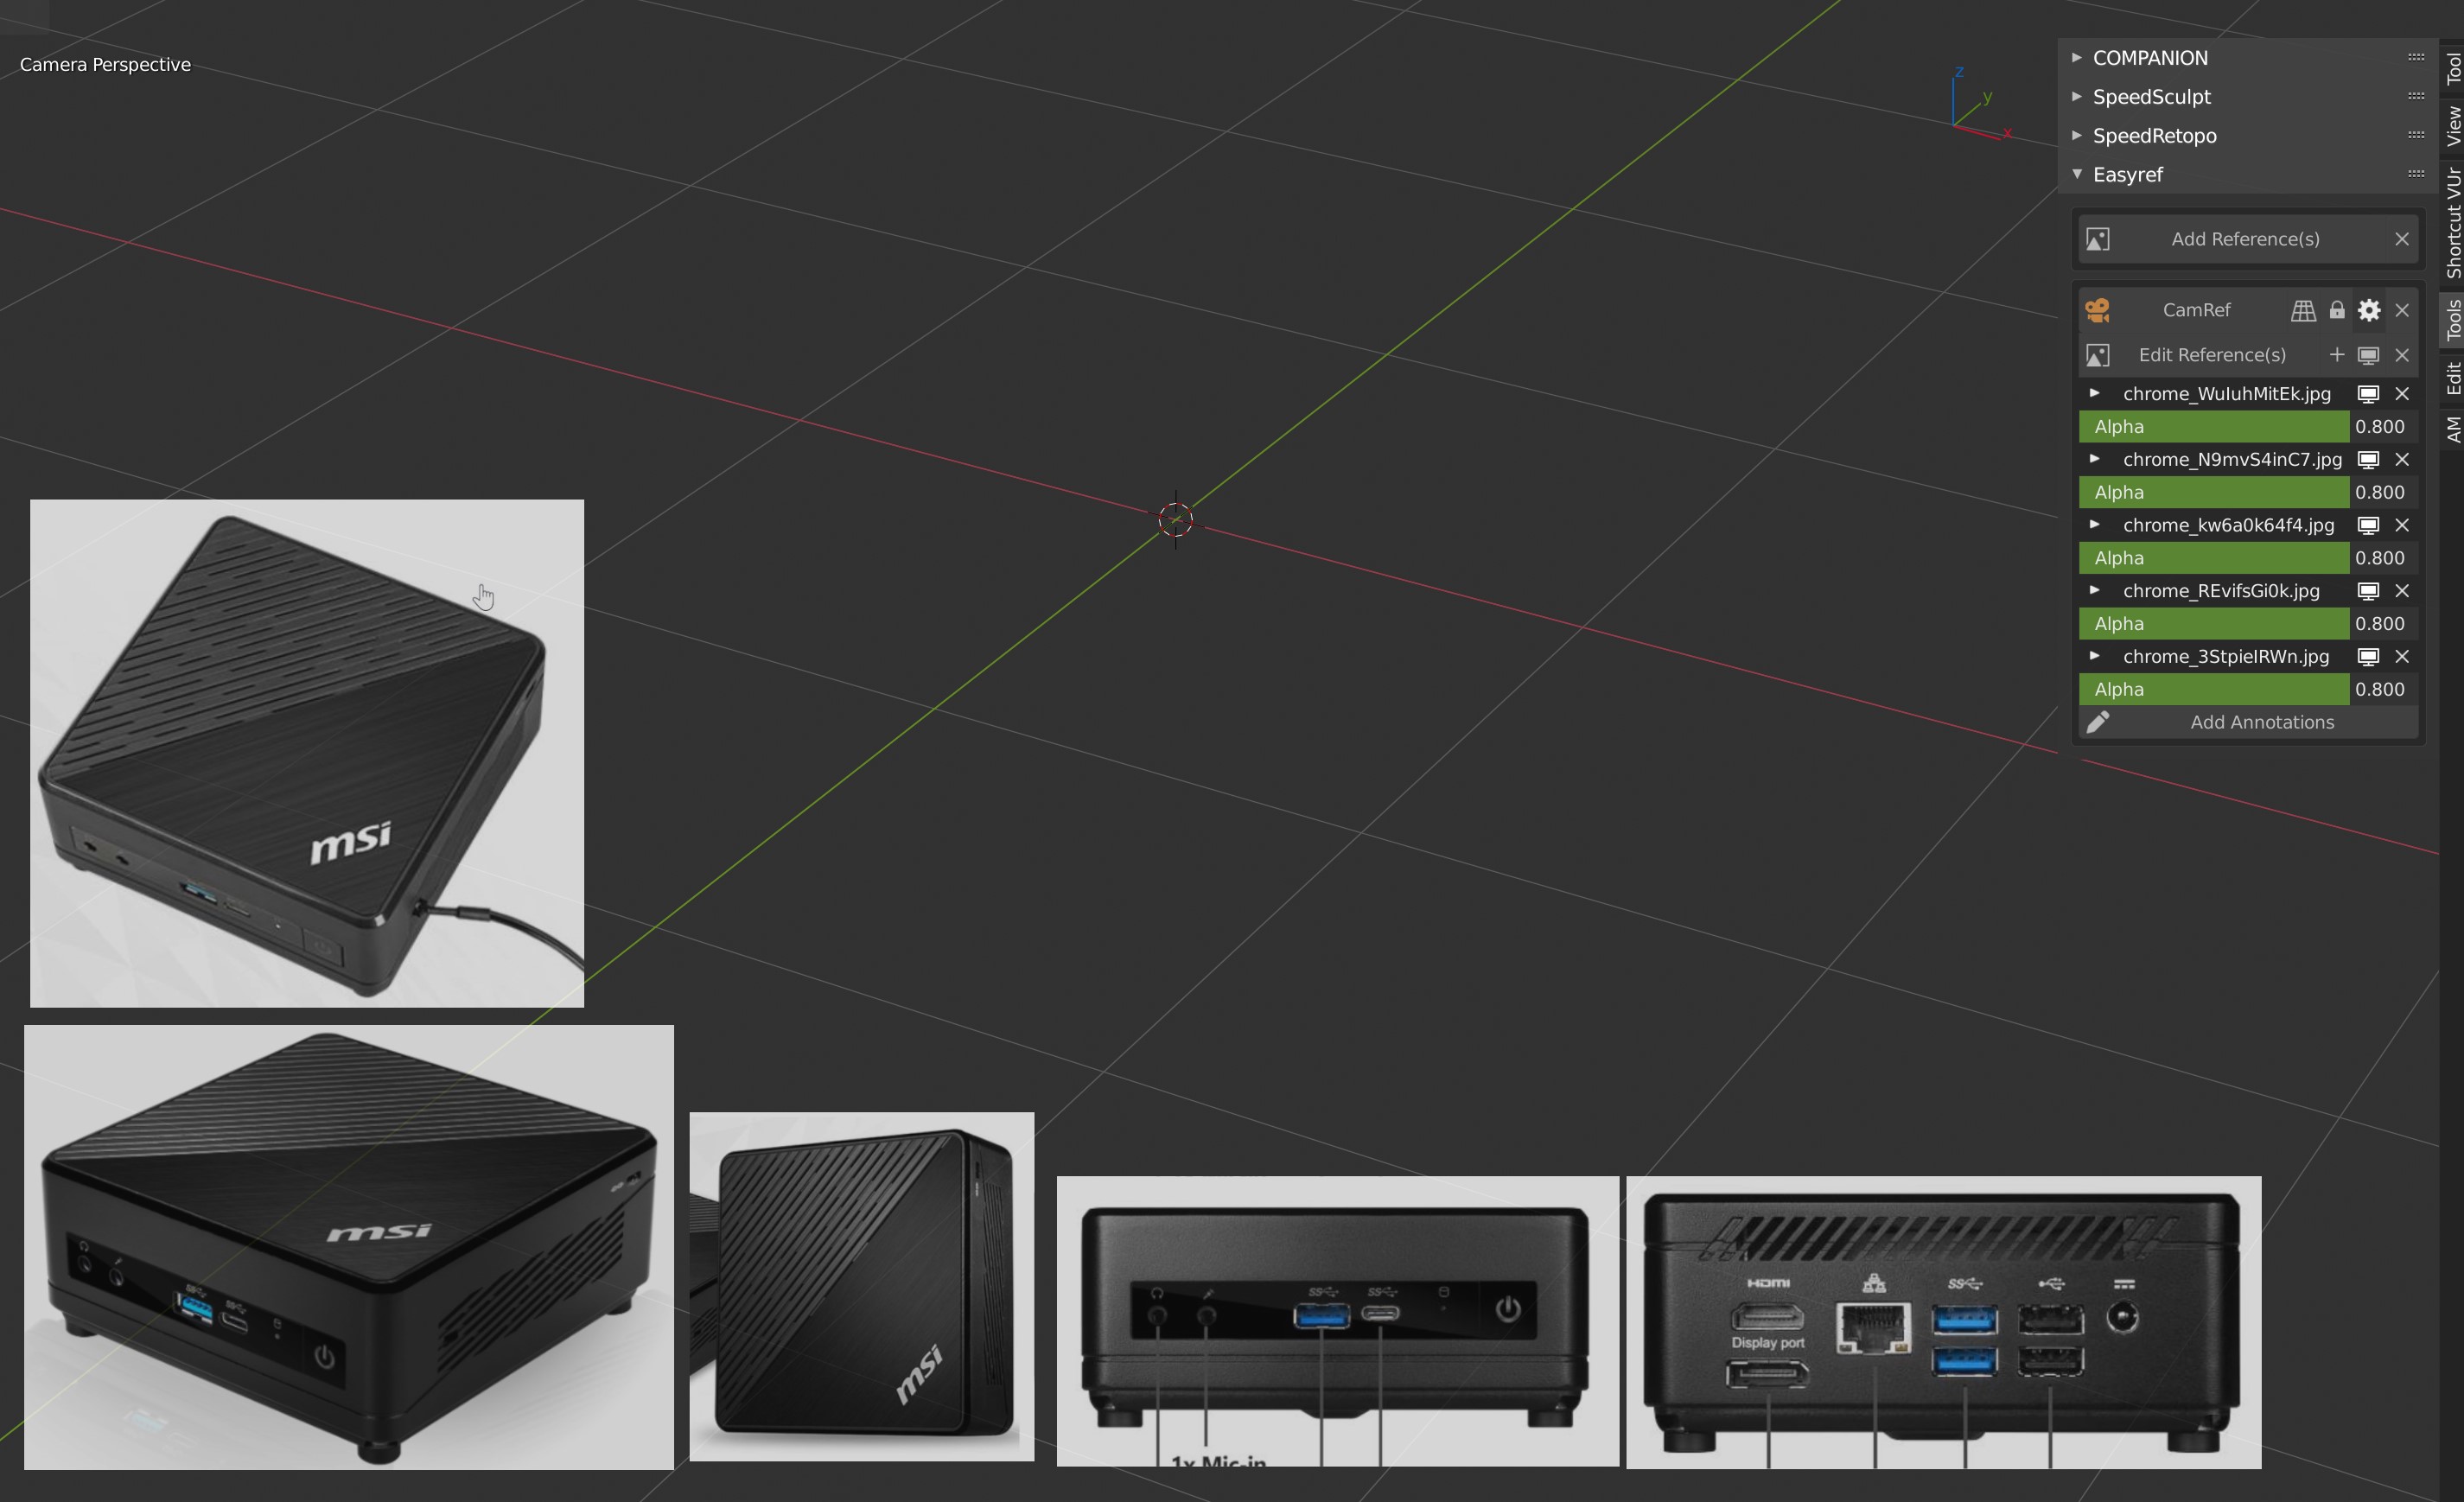
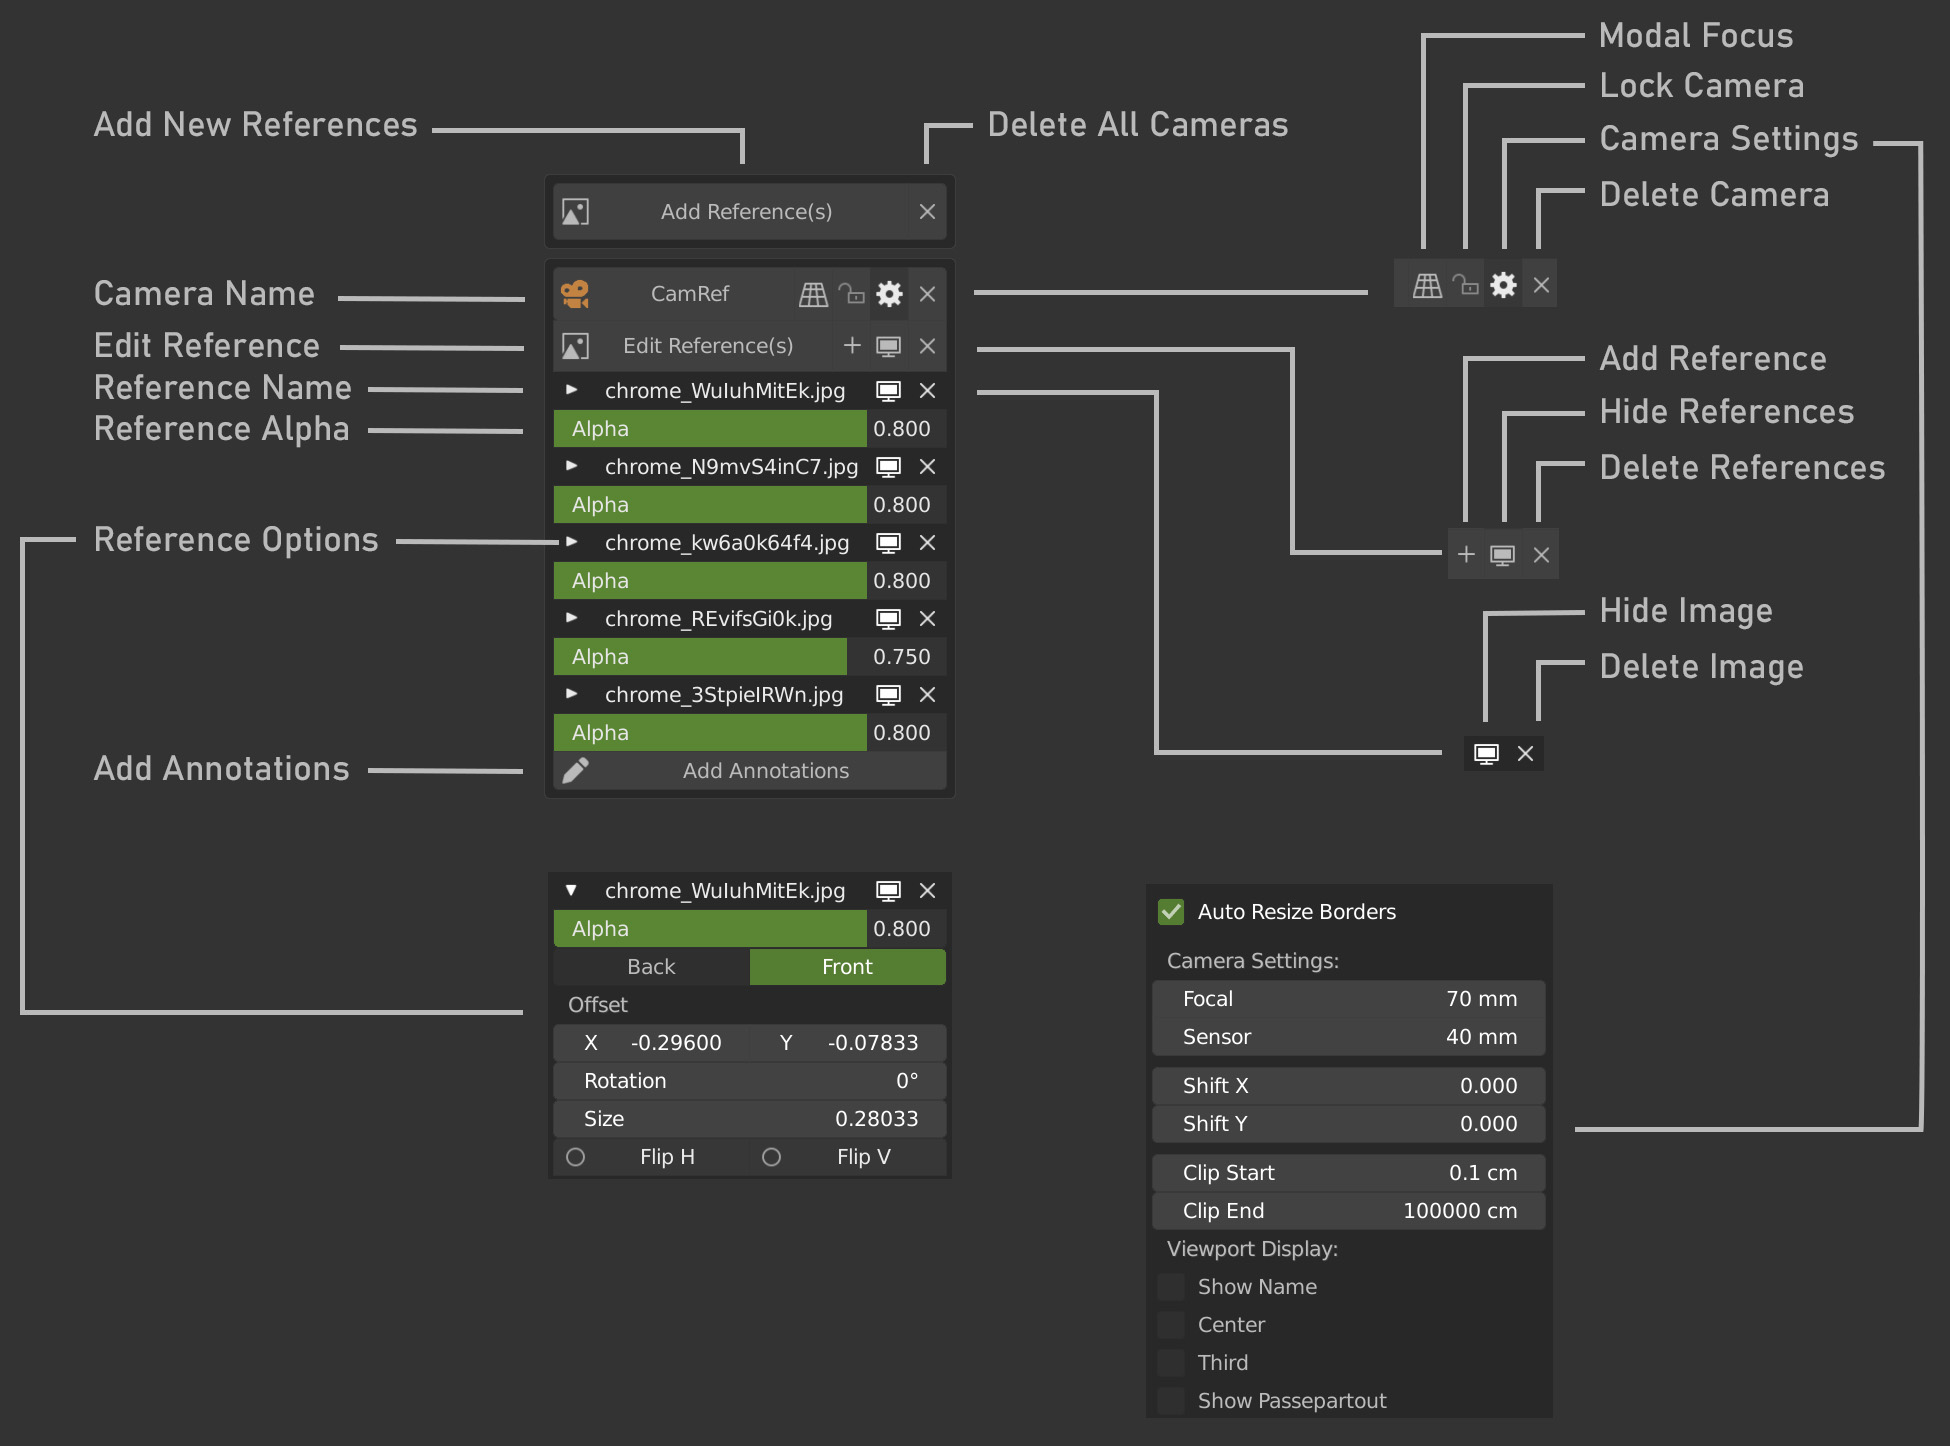
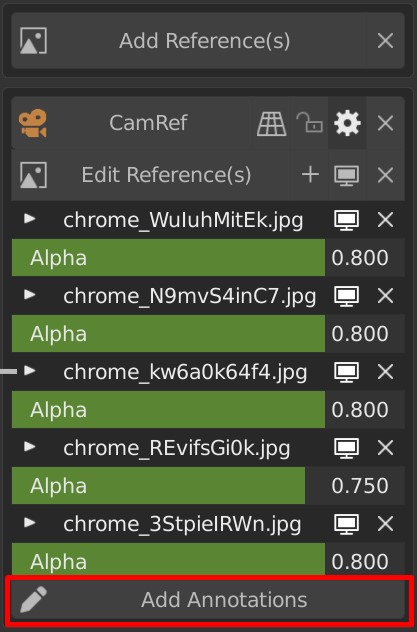
Once you added your reference images, you will have this UI in the UI Panel (N-Panel, shortcut 'N').
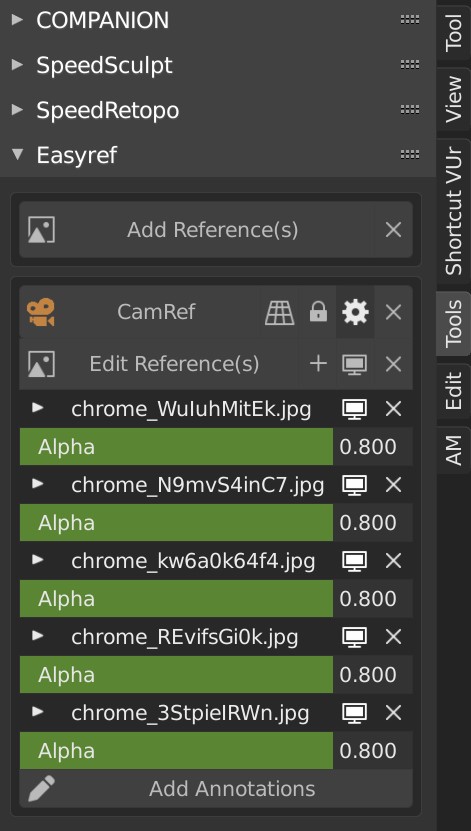
In this UI, you can edit your image opacity, remove them, edit theire positions, hide all of them or only several of them, etc.
You can also edit the Camera settings, add a new references, add new cameras, etc.
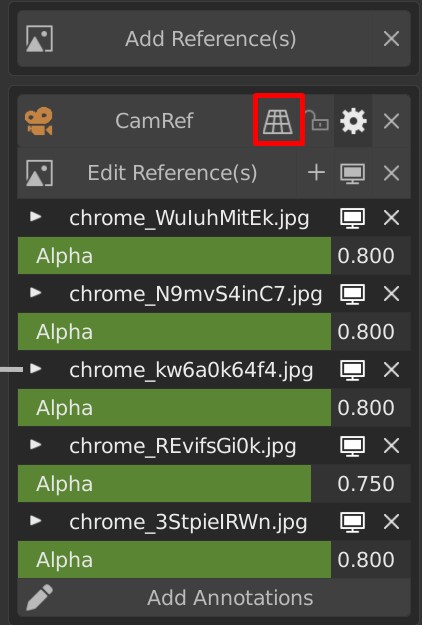
You can add one or more cameras and see a camera per view.
Example
You can even play with the Focus of the camera to match your reference!
Place the cursor where you want and press Q in the modal.
Example
The Focus modal is also accessible in the UI.
You can add references and start drawing with Grease Pencil on your view by clicking on the 'Add Annotations' button.
Example
When you will be in the annotation mode, you will be able to create Texts and Annotations with Grease Pencil.
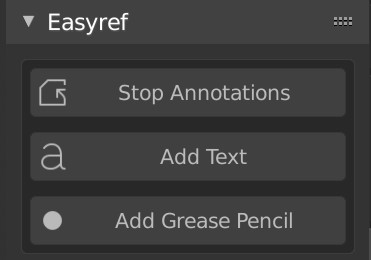
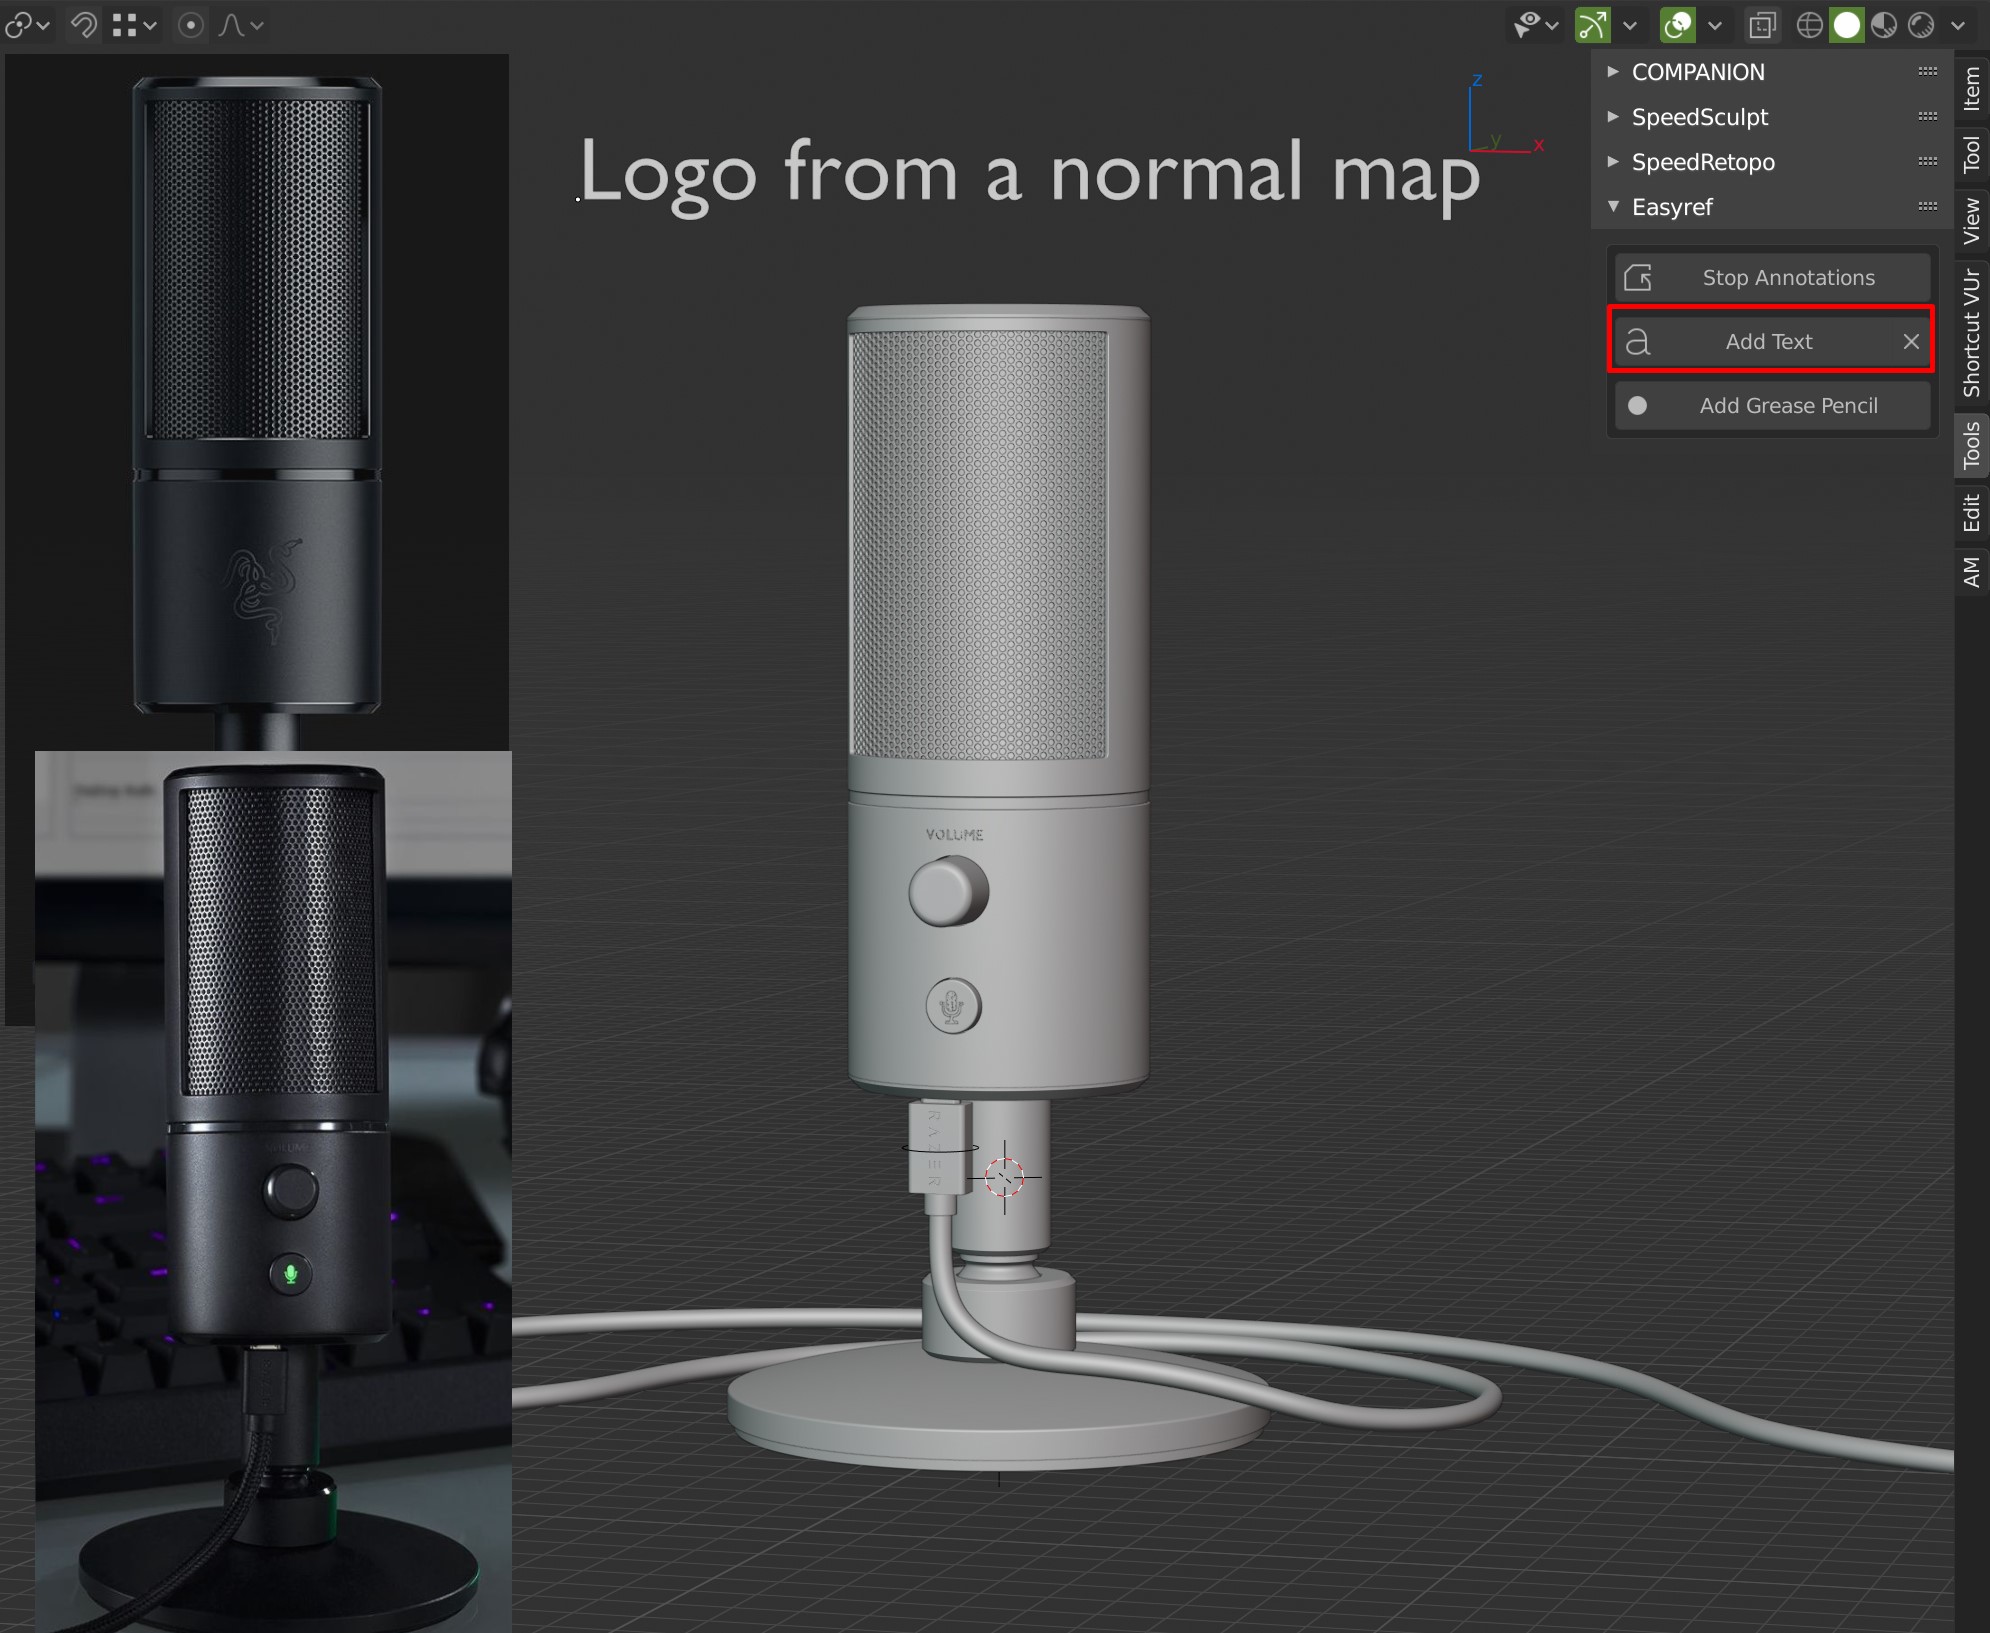
If you click on 'Add Text' and you will have a text in the 3Dview. To edit it, go in Edit Mode and add the Text you want.
- You can Move , Rotate, Scale it
- You can delete it from the 3Dview or from the UI
- You can add more than one text
IF you click on 'Add Grease Pencil', you will be in the Grease Pencil Paint mode.
You will have a UI that will allow you to create materials and Layers.
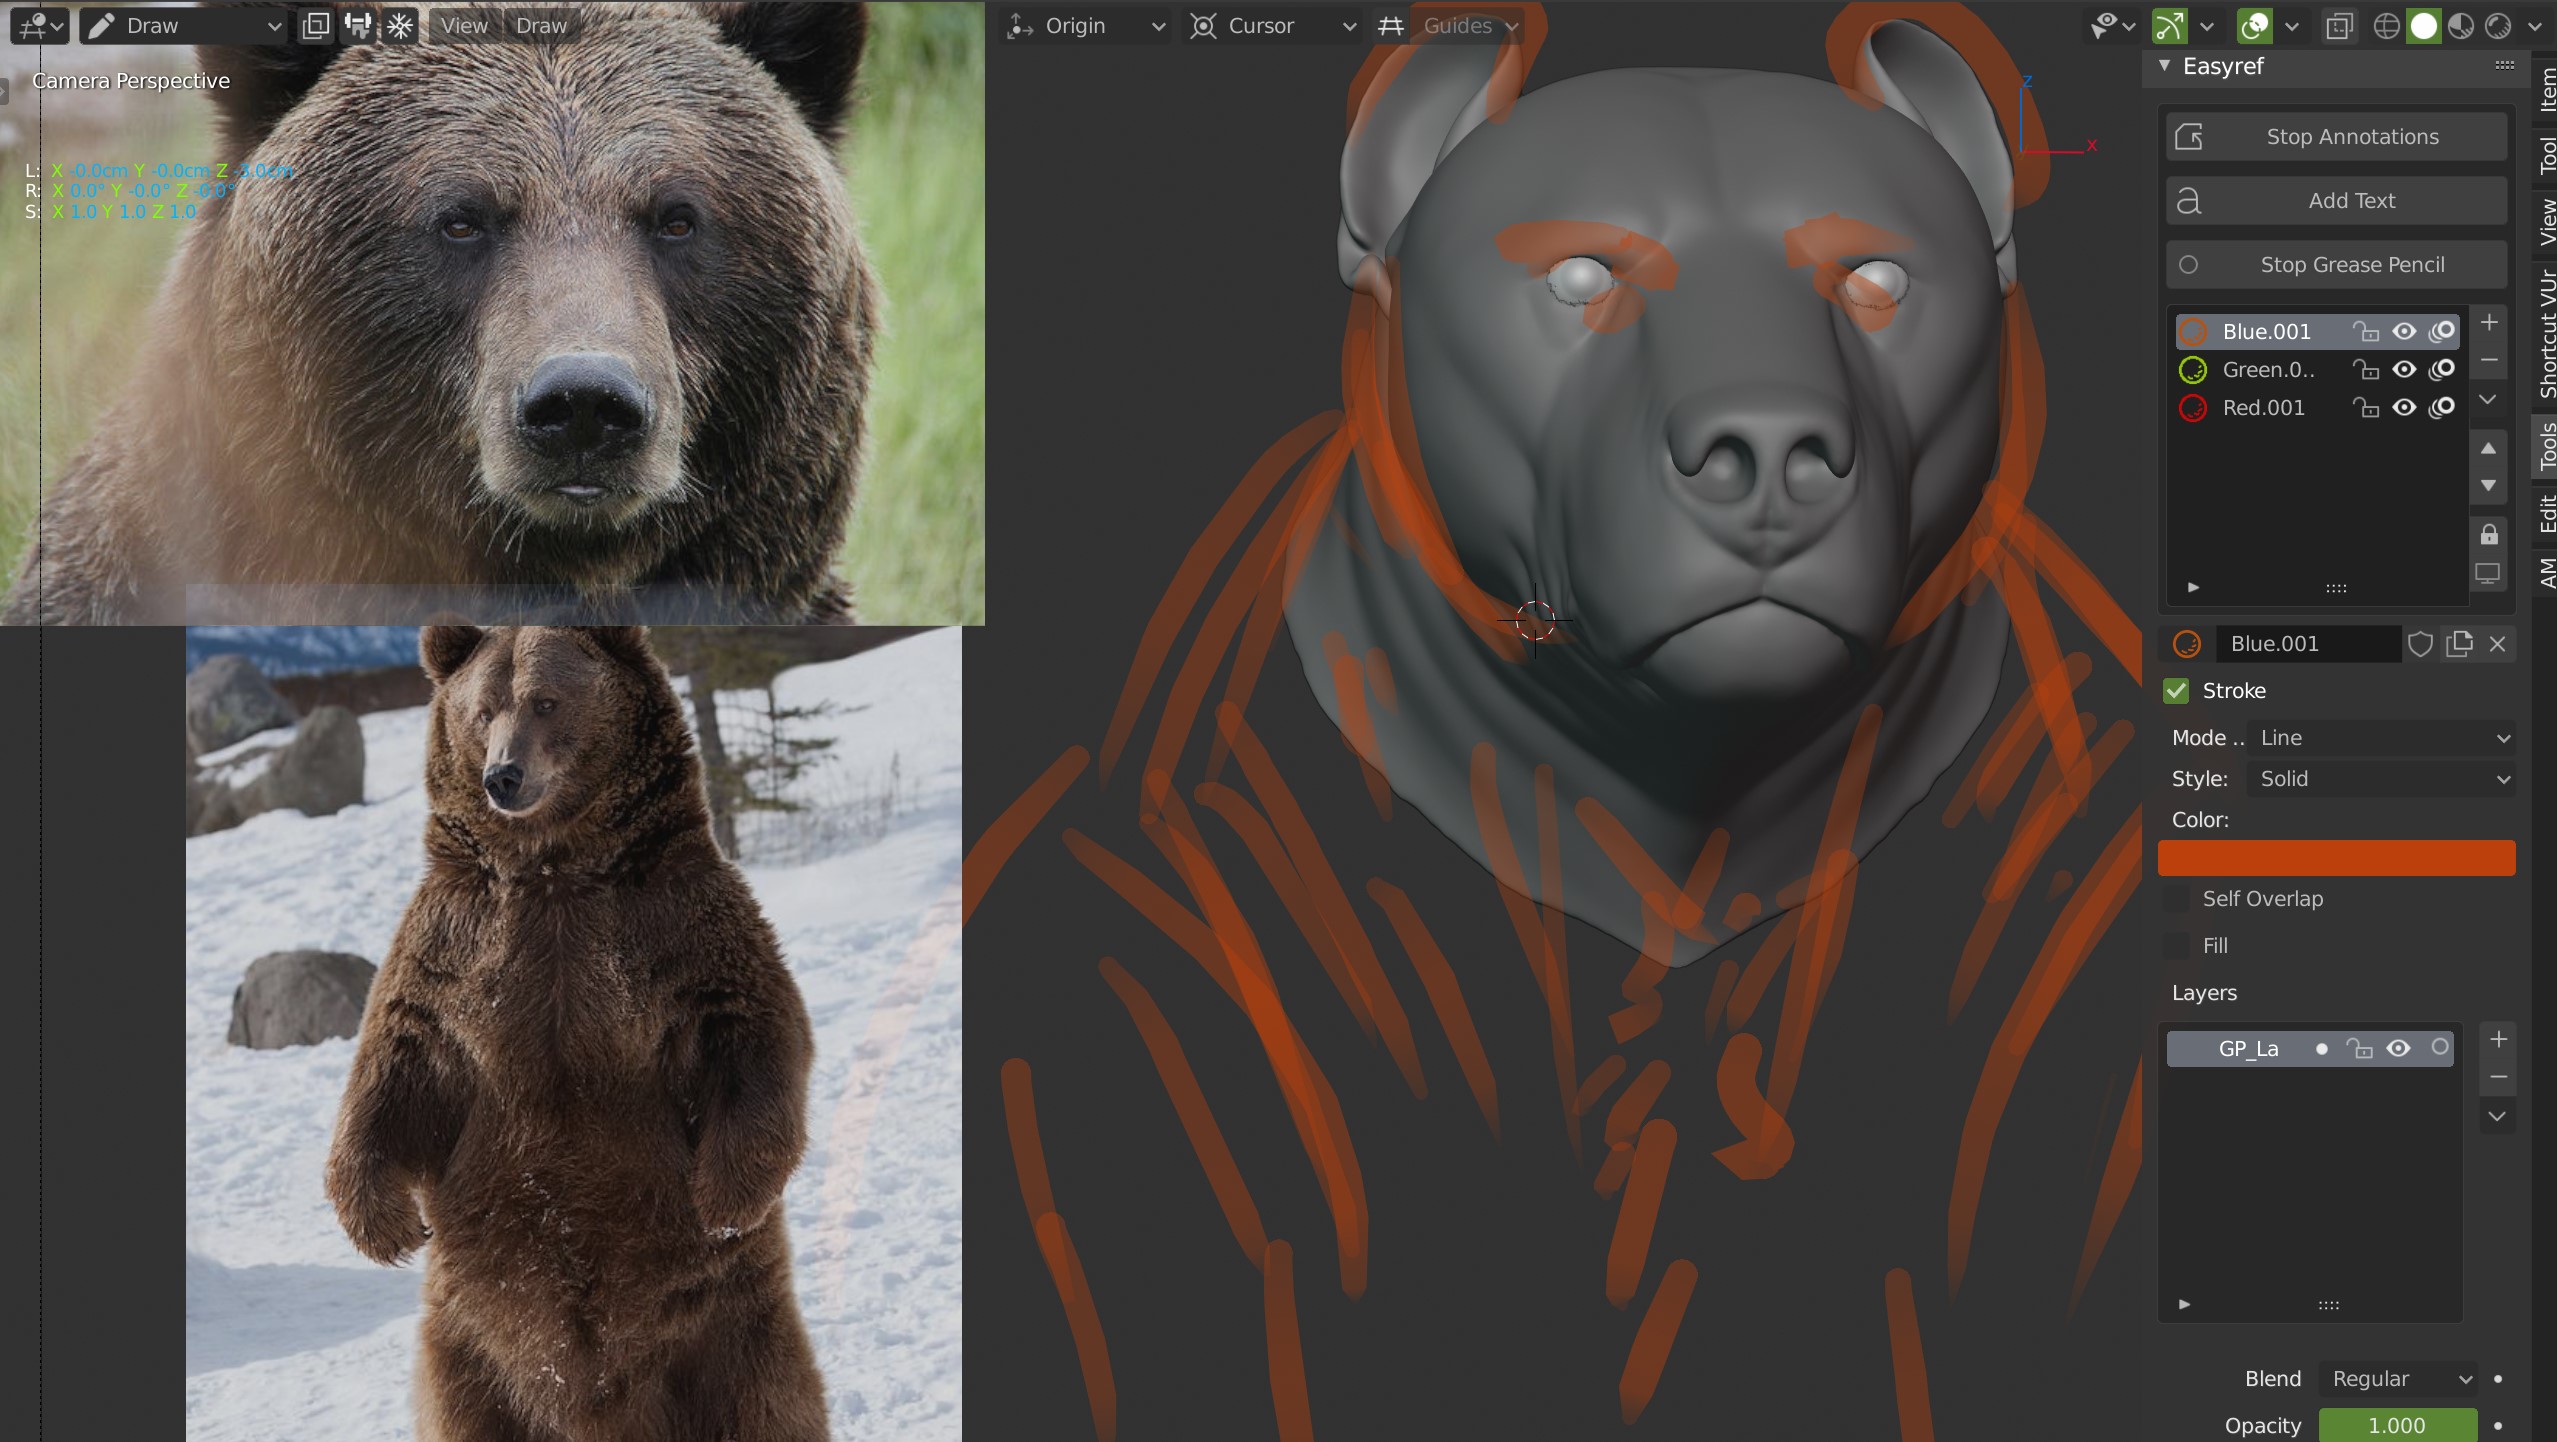
You can create as many materials as you want, same for the layers.
Once you are ok, click on 'Stop Grease Pencil' and 'Stop Annotations'.
Example
You can Lock the camera.